OpenCV Tutorial - Part 1
As i recently mentioned, i decided to write a brand new OpenCV tutorial application for iPhone/iPad devies. This development is open-source and anyone can access it on https://github.com/BloodAxe/OpenCV-Tutorial repository page. Your help are welcome to write a UI for this app and help writing sample demonstration cases. Feel free to clone repository and make your contribution!
OpenCV Tutorial
The application startup screen will present master-detail view as a list of available samples. The master table view will present a list of samples available, while the detailed view - a sample description and it’s icon perhaps. For each sample a still image can be used as a input data for processing. Also, processing of a video source from device camera will be also supported. We start from creating a new XCode project as shown on next figure: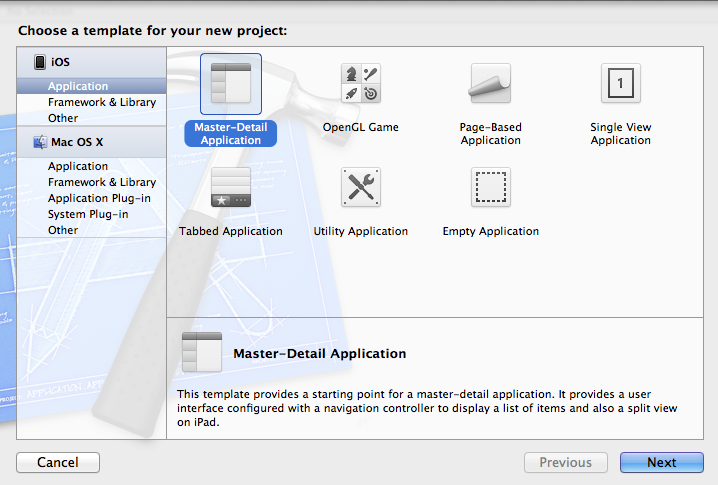
| |
Please note that OpenCV include directive placed before import of iOS frameworks. It’s important to keep this order, otherwise you’ll get compilation errors caused by conflicts of MIN symbol.
Sample interface
Each demonstration of particular algorithm usually required some image as an input argument (which is obviously since we working with image processing, right?). To reflect this nature of our application and to make our application really flexible we introduce a base class for all sample scenarios. Derived classes should implement methods that provides generic information about this example and main processing routine. Here are it’s signature:
| |
The processFrame function takes input image as first argument, performs some image processing and puts the result to the outputFrame argument. Our application can use either images taken with a camera or photo gallery or it can process frames from a camera in real-time mode.
Of course, almost every algorithm can have adjustable parameters that affects the processing result. To reflect this we introduce a bunch of registerOption functions that allows to expose parameters that can be modified in runtime.
In Part 2 we will create a Master-Detail view to present our samples on the iPad and iPhone screen and write first sample - Edge Detection Sample.